
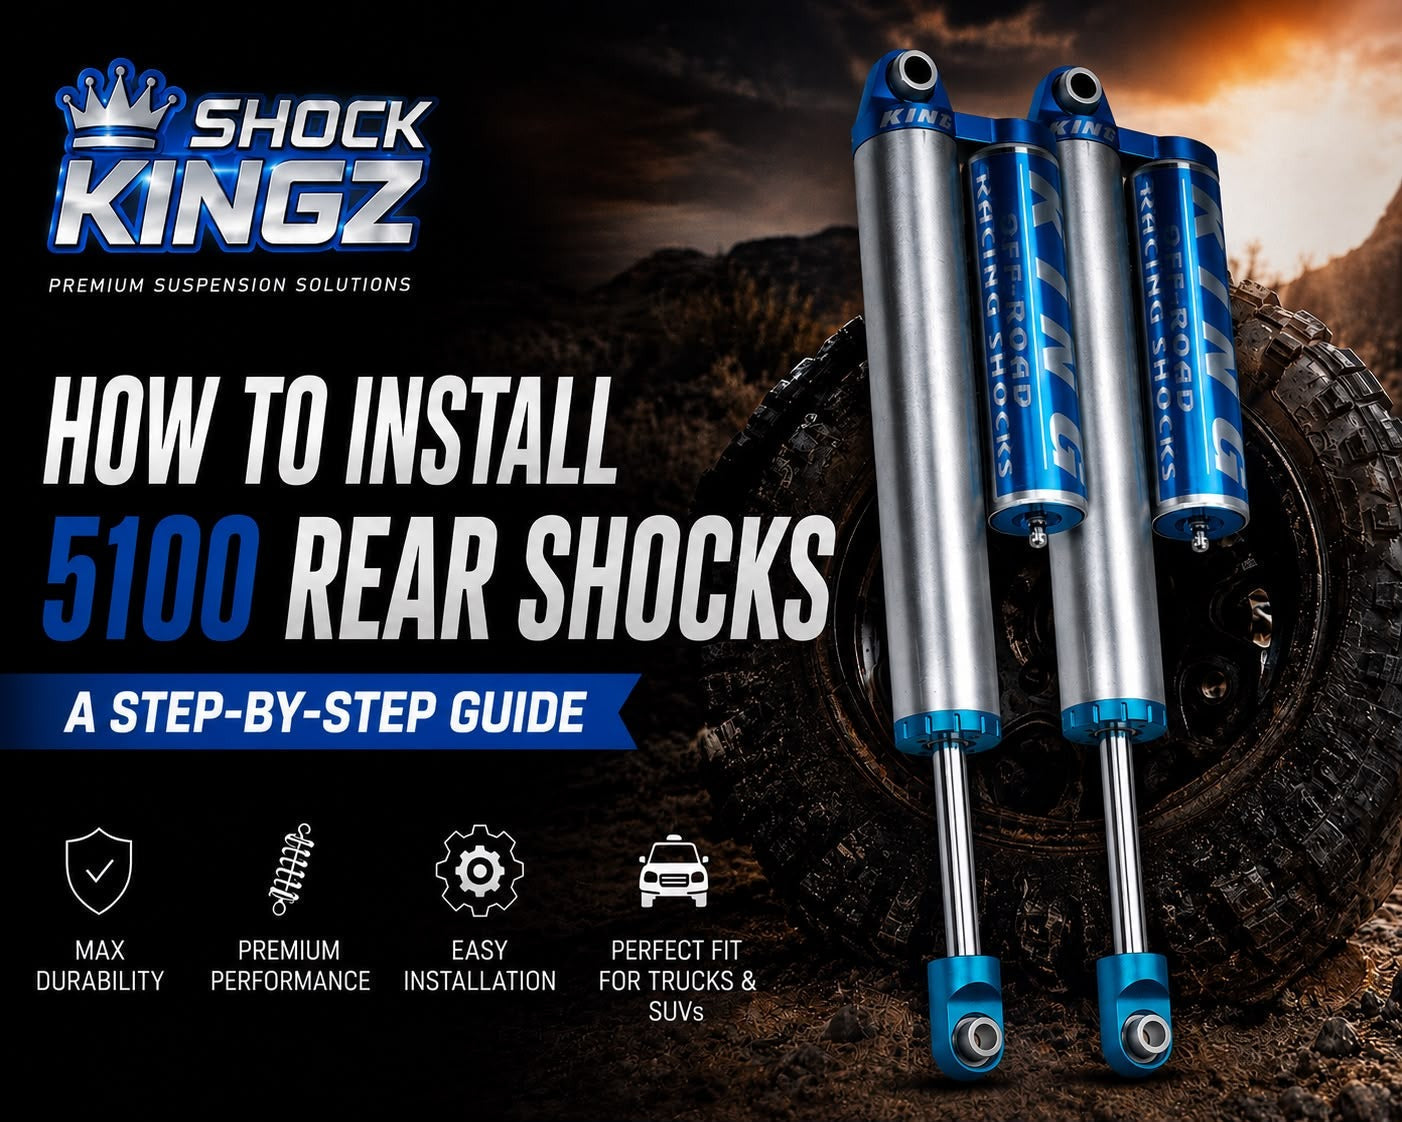
Upgrading your vehicle's suspension with ShockKingz 5100 Rear Shocks can significantly enhance ride quality, control, and off-road performance. These shocks are designed specifically for trucks and SUVs, providing a perfect balance of comfort and durability. Whether you're tackling rough terrains or simply looking for a smoother ride, 5100 Rear Shocks are a top choice among enthusiasts. This step-by-step guide will help you install 5100 Rear Shocks correctly and efficiently.
Step 1: Prepare Your Vehicle
- Park your vehicle on a flat surface and engage the parking brake.
- Use a jack to lift the rear end of the vehicle and secure it with jack stands. Ensure the vehicle is stable before proceeding.
- Remove the rear wheels for better access to the shocks.
Step 2: Remove Old Rear Shocks
- Apply penetrating oil to the upper and lower mounting bolts to ease removal, especially if they are rusted.
- Use a socket wrench to loosen and remove the lower shock bolt first. This helps relieve tension in the shock absorber.
- Support the shock and remove the upper mounting bolt.
- Carefully pull out the old shock absorber, ensuring you do not damage any surrounding components.
Step 3: Install 5100 Rear Shocks
- Align the new 5100 Rear Shock with the upper mounting bracket.
- Insert the upper mounting bolt and hand-tighten it to keep the ShockKingz shock in place.
- Position the lower part of the shock into the lower mount.
- Insert and hand-tighten the lower bolt. Ensure that the shock is seated properly in its designated mount.
Step 4: Tighten the Bolts to Proper Torque
- Use a torque wrench to tighten the upper and lower mounting bolts to the manufacturer's recommended torque specifications. This prevents over-tightening or under-tightening, which can affect performance.
- Ensure that the shock is securely in place and does not have excessive movement. Double-check all connections before proceeding.
Step 5: Reassemble and Test
- Reinstall the rear wheels and tighten the lug nuts securely.
- Carefully lower the vehicle to the ground, making sure the suspension settles properly.
- Check for any loose bolts and ensure everything is secure.
- Take the vehicle for a short test drive, preferably on different road conditions, to assess the improved ride quality. Listen for any unusual noises and check for proper shock absorption.

Benefits of Installing 5100 Rear Shocks
- Enhanced Ride Comfort: These 5100 Rear Shocks offer a smoother ride on rough terrain and highway driving.
- Improved Off-Road Performance: 5100 Rear Shocks are designed for lifted trucks and SUVs, handling bumps and uneven surfaces effectively.
- Durability and Longevity: Made with high-quality materials, these ShockKingz shocks provide long-lasting performance, reducing the need for frequent replacements.
- Consistent Damping Performance: The monotube design ensures consistent handling and control in various driving conditions.
- Easy Maintenance: Once installed, 5100 Rear Shocks require minimal upkeep compared to standard shocks.
Conclusion
Installing 5100 Rear Shocks is a straightforward process that can significantly improve your vehicle's suspension, handling, and overall ride quality. Whether you're an off-road enthusiast or simply want a better driving experience, this is one of the top reasons to upgrade your truck's suspension. By following this step-by-step guide, you can complete the installation efficiently and enjoy a smoother, more controlled ride.
For high-quality shocks and suspension products, ShockKingz offers a wide range of premium suspension solutions built to keep your ride smooth, stable, and ready for anything.
Ready to Upgrade Your Ride?
Don't settle for a worn-out suspension. A fresh set of rear shocks can transform how your truck handles rough roads, tows heavy loads, and rides on your daily commute. Shop our full lineup of 5100 Rear Shocks and get the ride quality, control, and durability your truck deserves.
FAQs
How long does it take to install 5100 Rear Shocks?
Most DIY installations take between 1 to 2 hours, depending on your experience level and tools on hand. Working on a lift or with an impact wrench can speed things up considerably.
Do I need any special tools to install 5100 Rear Shocks?
You'll need basic tools including a jack and jack stands, a socket wrench set, and a torque wrench to ensure the mounting bolts are tightened to the correct specification. Penetrating oil is also helpful for loosening rusted bolts.
Will 5100 Rear Shocks change my vehicle's ride height?
5100 Rear Shocks are designed to work with your vehicle's existing ride height or a modest leveling setup, depending on the shock length and mount position you choose. They won't dramatically lift your truck on their own.
Can I install 5100 Rear Shocks myself, or should I see a professional?
Many drivers with basic mechanical experience can install these shocks at home using the steps outlined above. If you're not comfortable working under a lifted vehicle or torquing suspension bolts to spec, it's best to have a professional installer handle it.
How do I know if my rear shocks need to be replaced?
Common signs include a bouncy or unstable ride, uneven tire wear, visible fluid leaks on the shock body, and unusual noises like clunking over bumps. If you notice any of these, it's a good time to consider an upgrade.





Leave a comment
This site is protected by hCaptcha and the hCaptcha Privacy Policy and Terms of Service apply.