
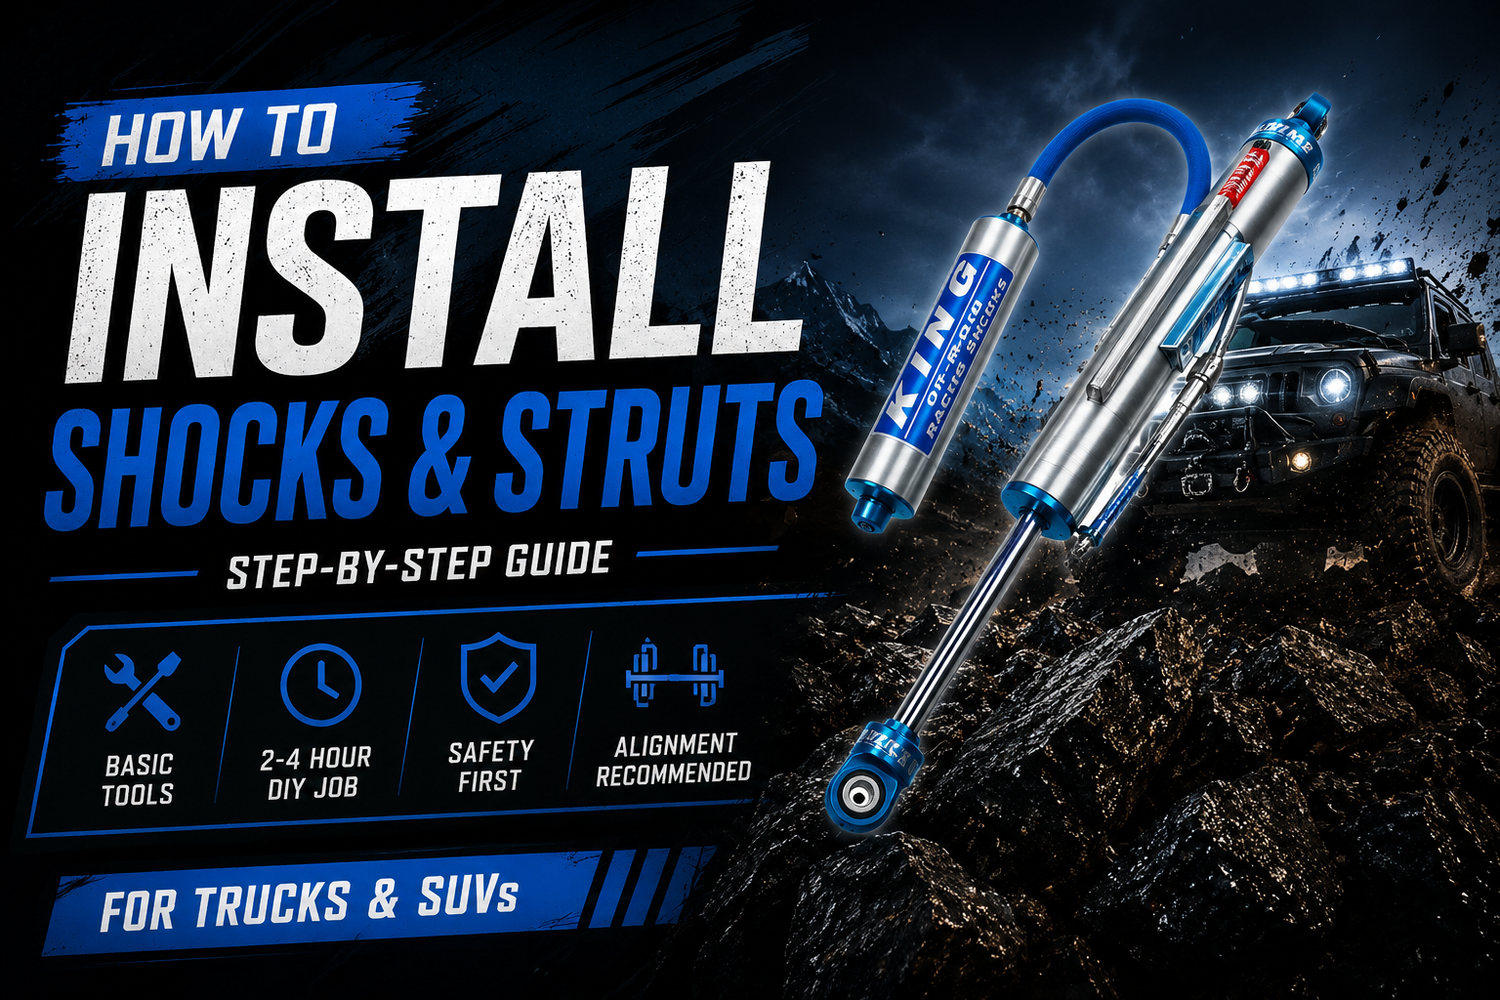
Most truck and SUV owners assume shock and strut replacement is a job for the shop. It isn't, at least not for the majority of applications. A typical suspension installation on a half-ton pickup or midsize SUV takes an experienced DIYer 2 to 4 hours per axle, and the process hasn't changed much in the last two decades: unbolt the old shock absorbers, torque in the new ones, and check your alignment if struts were involved. What has changed is how much information is now available to a first-timer, which is the gap this guide is meant to close.
Quick answer up front: installing shocks and struts on most trucks and SUVs is a 2 to 4 hour DIY job with basic suspension tools. You'll need a floor jack, jack stands, a spring compressor for strut assemblies, and a torque wrench. Always replace shocks in pairs both fronts or both rears together and schedule a 4-wheel alignment after any strut replacement.
Tools You Need Before You Start
Before anything comes off the truck, lay out your suspension tools so you're not mid-job hunting for a socket. A floor jack rated for your vehicle's weight, two jack stands, a breaker bar, a torque wrench, and a standard socket set cover most shock-only jobs. Strut replacements add a spring compressor to the list, and coilover setups specifically require a coilover spanner wrench to adjust ride height on the threaded collar. Skipping the spanner wrench is one of the most common reasons DIYers give up partway through a coilover install the collar won't budge with pliers or an adjustable wrench, and forcing it risks rounding the threads.
Most spring compressors and spanner wrenches don't need to be purchased outright for a one-time job. Many auto parts chains run free tool-loan or rental programs that cover exactly this kind of specialty equipment, which keeps the total cost of a DIY suspension installation well under what a shop would charge for labor alone. It's worth calling ahead to confirm sizing, since spanner wrenches are sold in ranges that need to match your specific coilover collar diameter.
Removing the Old Shocks or Struts
Chock the wheels, break the lug nuts loose while the vehicle is still on the ground, then jack up the corner you're working on and support it on a stand. With the wheel off, locate the upper and lower mounting bolts. Shocks are usually a two-bolt job top and bottom while struts involve the upper strut mount (often inside the engine bay or wheel well) plus the lower control arm connection. Penetrating oil on rusted bolts the night before saves real time; a technician we spoke with at a regional shop estimated that seized hardware adds 30 to 45 minutes per corner on vehicles over eight years old in road-salt regions.

Installing the New Shocks and Struts
Bolt the new unit in loosely first, then torque everything to the manufacturer's spec once the suspension is at ride height not while it's hanging free, which can pre-load the bushings incorrectly. If you're doing a full shock rebuild on a strut assembly (swapping just the cartridge inside an existing housing rather than the whole unit), the spring compressor stays clamped on the spring while you extract the old insert and thread in the new one, then you release the compressor slowly and evenly on both sides. Uneven release is a leading cause of compressor slippage injuries, so this step deserves your full attention, not a quick glance at your phone mid-job.
Torque Specs and Alignment: Don't Skip These
Every manufacturer publishes torque values for suspension hardware, and they vary meaningfully; a lower shock bolt on a half-ton truck might call for 70 lb-ft while a strut-to-knuckle bolt on the same platform calls for well over 100 lb-ft. Under-torquing risks the fastener backing out over time; over-torquing can strip threads or distort bushings. After any strut replacement, book a 4-wheel alignment. Struts are structural to camber and toe angles, and skipping alignment after a strut swap is the single most common reason new tires wear unevenly within the first 5,000 miles.
Common Mistakes DIYers Make
A few patterns show up again and again in DIY forums and in shop comebacks: replacing only one shock instead of the pair (which unbalances damping side to side), reusing worn strut mounts or bearings instead of replacing them with the shock, and torquing bolts before the suspension is at ride height. None of these mistakes are hard to avoid once you know to watch for them, which is really the point of doing the research before you start turning wrenches rather than after something feels off on the drive home.
Replacing shocks and struts yourself is a realistic weekend project for anyone comfortable with basic hand tools and a bit of patience under the vehicle. The job rewards preparation, right tools, correct torque specs, and a plan for alignment far more than it rewards speed. Take the time to gather everything listed above before the first bolt comes off, and the install itself tends to go smoothly.
CTA
Shop All Shocks at Shockkingz.
FAQ
Q1. What tools do I need to install shocks?
You'll need a floor jack, jack stands, a socket set, and a torque wrench. Strut assemblies also require a spring compressor, which is available at most auto parts stores or through tool rental programs.
Q2. Do I need a wheel alignment after replacing shocks?
Always after a strut replacement, since struts affect camber and toe angles. For shock-only replacement, alignment is recommended but not always required.
Q3. Should I replace shocks in pairs?
Yes. Always replace both fronts or both rears together to maintain even damping balance across the axle.
Q4. How long does a DIY shock or strut install take?
Most trucks and SUVs take about 2 to 4 hours per axle for an experienced DIYer, though seized or rusted hardware on older vehicles can add extra time.
Q5. Can I reuse the old strut mounts and bearings when replacing struts?
It's not recommended. Worn mounts and bearings are a common source of noise and uneven wear even after new struts are installed, so replacing them at the same time is standard practice.





Leave a comment
This site is protected by hCaptcha and the hCaptcha Privacy Policy and Terms of Service apply.