
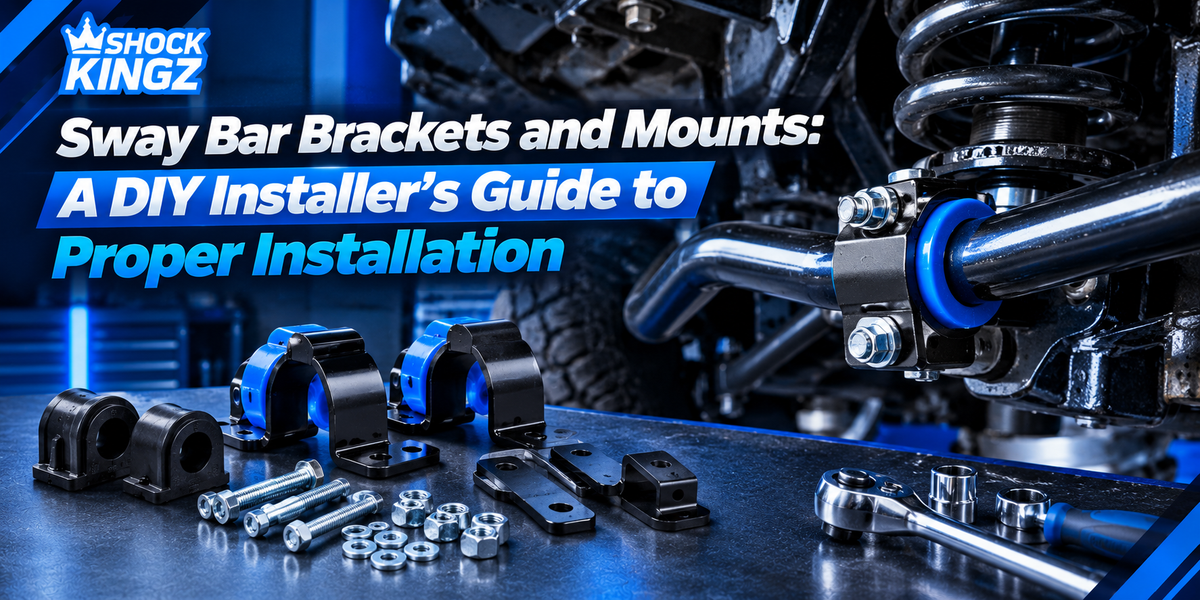
Proper installation of sway bar brackets comes down to four things: the right part for your exact vehicle, clean and correctly positioned bushings, hardware tightened to the specified torque, and a clearance check once everything is back together. Brackets hold the bar in place so it can resist body roll. Installed poorly, they can cause clunks, binding, and vague handling.
This guide walks DIY installers through choosing sway bar brackets, installing them correctly, and avoiding the mistakes that cause repeat jobs.

What Do Sway Bar Brackets and Mounts Do?
A sway bar (also called a stabilizer or anti-roll bar) links both sides of an axle. The ends connect to the suspension through end links, and the middle attaches to the vehicle through bushings held by brackets. When the body leans in a corner, the bar twists and resists that motion.
Sway bar mounts and brackets are the pieces that clamp those bushings to the frame, subframe, or axle. If they loosen or the bushings crack, the bar can shift or knock. Many installers search for sway bar mounts after a lift or coilover swap, because the factory position may no longer work.
Standard Brackets vs. Relocation and Drop Brackets
Not every bracket does the same job. Choosing the wrong type is a common reason installs go sideways.
Shockkingz's sway bar collection focuses on relocation and drop kits for trucks, SUVs, and performance vehicles. For example, ICON describes its Tacoma, FJ, and 4Runner relocation kit as moving the front bar one inch forward to clear aftermarket coilovers. Always confirm that your vehicle and trim match the listing.
When Do You Need Sway Bar Mounting Brackets After a Lift?
Changing ride height or shock design can change where the bar sits. Our suspension lift kits guide explains why geometry shifts after a lift. Watch for these signs:
- Clicking or tapping when the suspension moves, which may mean the bar touches a coilover or shock
- End links sitting at a steep angle
- Bar rubbing on the frame, control arms, or shock bodies
- Binding or reduced travel off-road
If you see any of these, vehicle-specific sway bar mounting brackets or relocation hardware may solve it. Check the listing to confirm it matches your model, year, and lift setup.
How to Install Sway Bar Brackets: Step by Step
Always follow your vehicle's service information and the instructions included with the kit. The sequence below is a general outline.
Before you start: Gather basic hand tools, a torque wrench, penetrating oil, and jack stands. Our suspension tools collection covers specialty items for shock and coilover work.
- Confirm the parts. Compare the new brackets, bushings, and hardware with the old ones before taking anything apart.
- Support the vehicle safely. Use jack stands on solid ground. Never rely on a jack alone.
- Note the orientation. Take photos and mark the bushing slit direction and bracket position.
- Remove the old brackets. Clean the bar where the bushings sit, and look for rust pitting or damage.
- Fit the new bushings. Position them in the same orientation as the originals unless the instructions say otherwise.
- Lubricate only as directed. Polyurethane bushings often come with grease, and rubber ones usually don't need it. Use only what the kit specifies.
- Install the brackets or relocation blocks. Start every bolt by hand to avoid cross-threading, then seat the bracket evenly.
- Torque to specification. Use the torque values from the kit or service manual. Some procedures call for the suspension at normal ride height before final tightening.
- Reconnect the end links and lower the vehicle.
- Check clearance. Cycle the suspension, inspect for contact, and recheck the hardware after a short drive.
Ready to compare options? Explore relocation and drop options in the sway bar kit collection and use the year, make, model, submodel, and drive selector to see kits listed for your vehicle.
Sway Bar Bushings: What to Know Before You Buy
Sway bar bushings cushion the bar where it passes through the bracket. A cracked, split, or crushed bushing can cause clunking and looser handling.
Rubber bushings are generally the quieter, more factory-like choice. Polyurethane is often firmer but commonly needs lubrication to avoid squeaks. Bar diameter matters too, because manufacturers can use different sizes within one model year. Measure the bar and match the bushing to it.
Bushings aren't the main focus of our brackets collection, so if you need them, ask the Shockkingz team before assuming a kit includes them.
Common Mistakes DIY Installers Make
- Skipping the fitment check. Trim, drivetrain, and equipment can change which part fits.
- Overtightening. Crushed bushings wear faster and can make noise.
- Undertightening. Loose brackets let the bar move and clunk.
- Wrong lubricant. Not every grease suits every bushing material.
- Ignoring worn end links. New brackets won't fix loose links.
- Not checking clearance. Contact often shows up only at full travel.
- Reusing damaged hardware. Stripped or rusted bolts can fail to hold torque.
Pre-Install Checklist
- Confirm year, make, model, submodel, and drivetrain.
- Identify whether you need replacement, relocation, or drop brackets.
- Check for exclusions, such as special suspension systems.
- Gather the torque specs and a torque wrench.
- Inspect the bar, bushings, and end links for wear.
- Plan to check clearance and hardware after the first drive.
Need the Right Sway Bar Brackets?
Before installing or replacing sway bar mounts, make sure the brackets match your vehicle, suspension setup, and mounting position. Explore application-specific options before starting your installation.
Explore Sway Bar Brackets →Frequently Asked Questions
Practical answers about sway bar brackets, bushings, coilovers, alignment, installation, and suspension safety.






Leave a comment
This site is protected by hCaptcha and the hCaptcha Privacy Policy and Terms of Service apply.